Exploring files
The QIM platform offers a web file explorer that acts as a secure SFTP client powered by Filestash. This means you can use QIM's interface directly in your web browser to access and manage files within your designated user space on the remote cluster. Filestash acts as the engine behind the scenes, handling tasks like user authentication, file transfers, and various media management functionalities.
In this tutorial, we'll show you how to access the file explorer and which are its funtionalities.
Requirements
Before starting with the tutorial, let's ensure that you have everything needed.
- You'll need a working DTU username. Test the operational status of your username by logging into the QIM platform here.
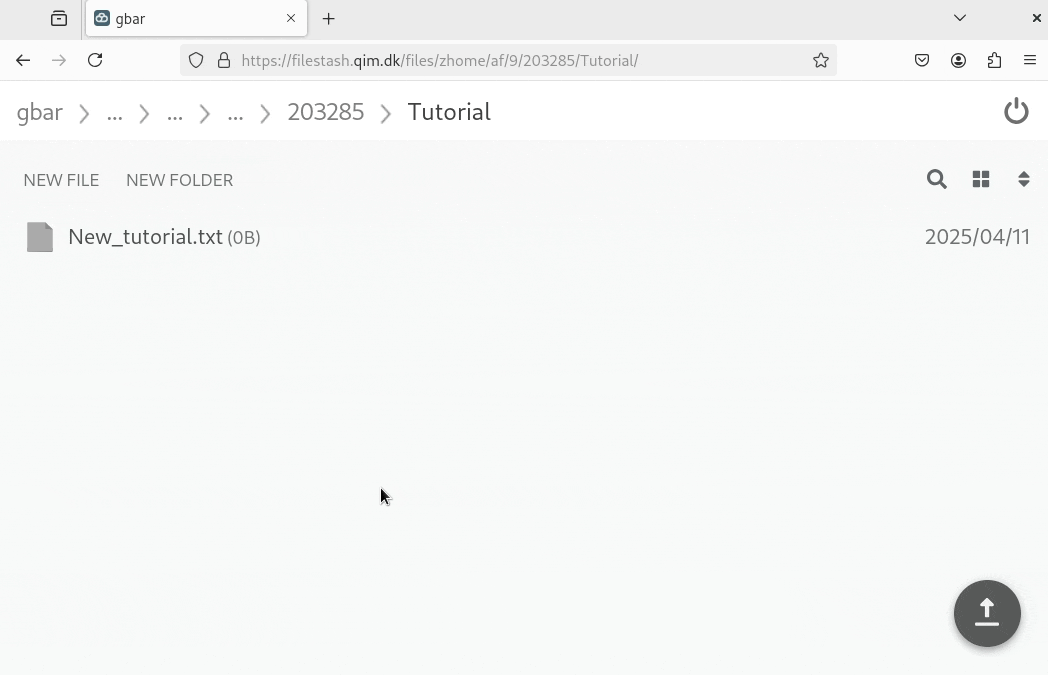
Access the file explorer
To access the file explorer you will need to select Data in the toolbar, followed by Home from the dropdown menu.
Accessing the file explorer requires authentication. New users must create an account first.
Functionalities:
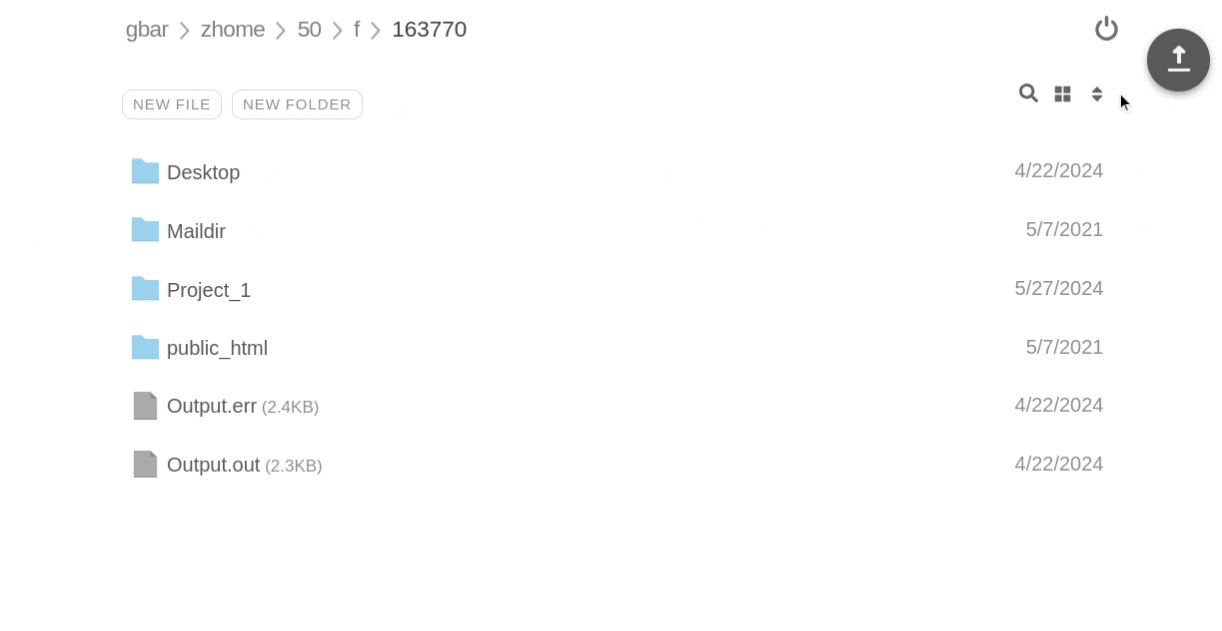
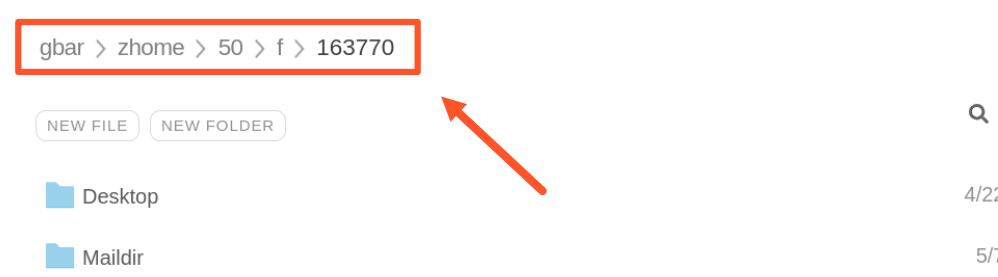
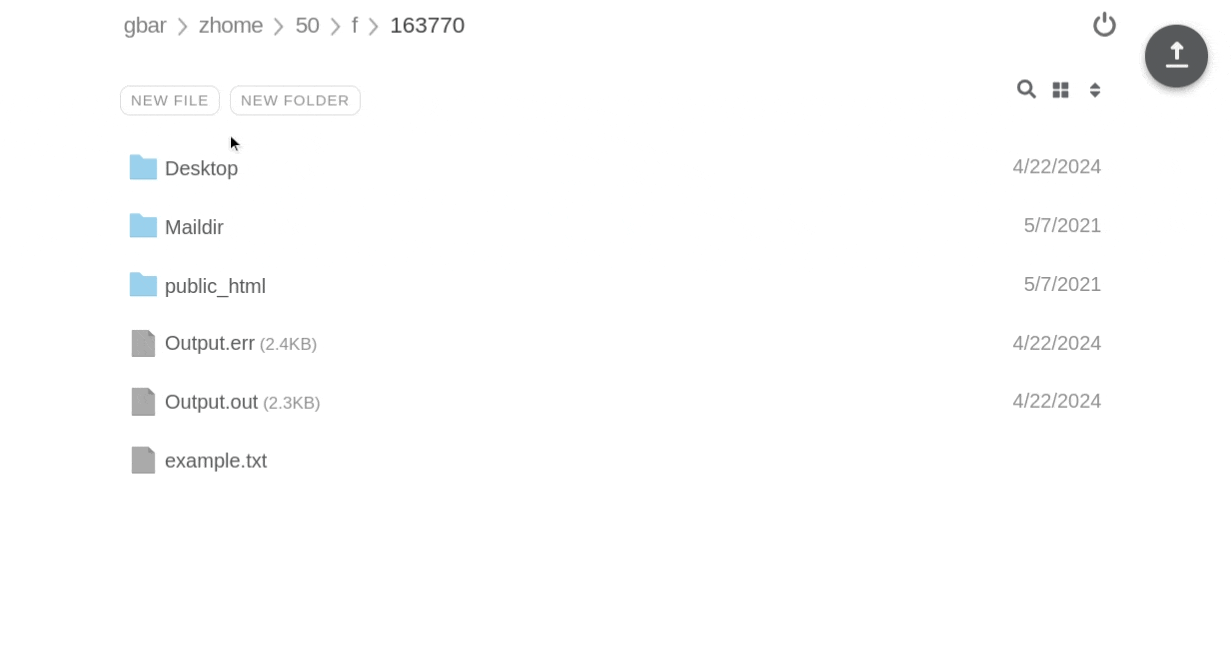
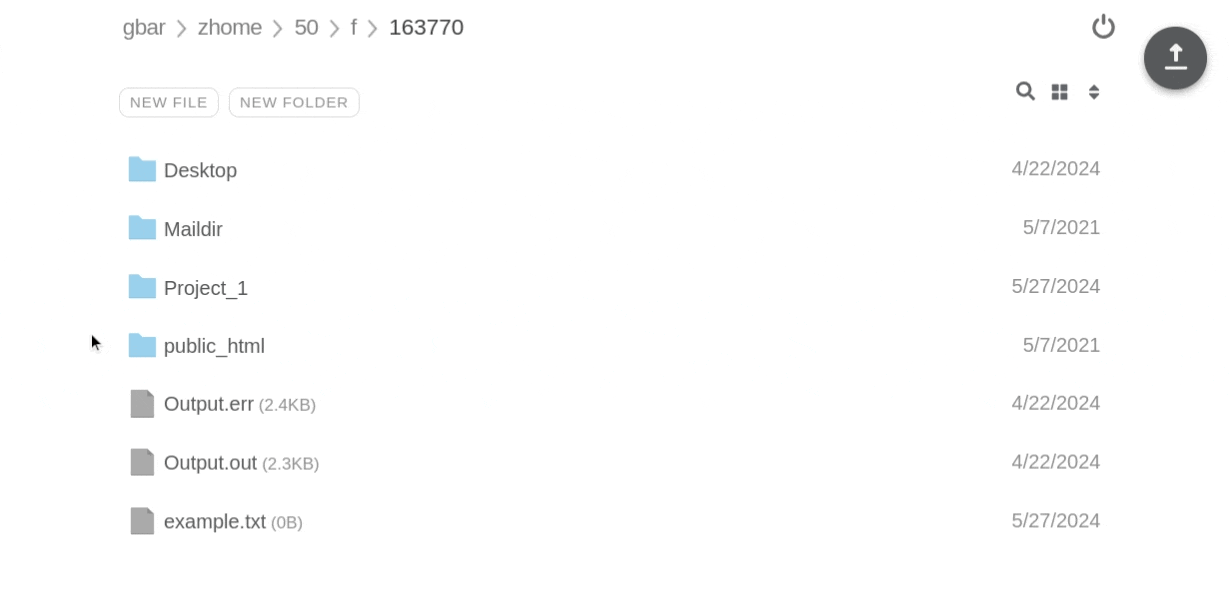
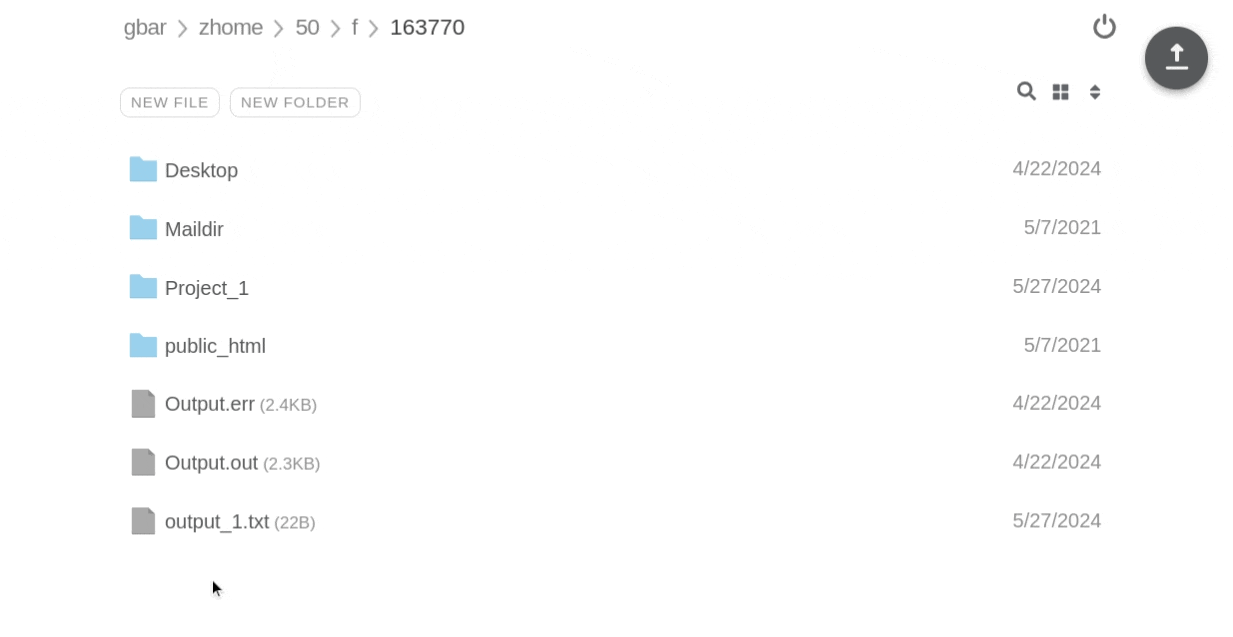
Upon logging in, you'll land in your designated home directory within the cluster. This location is reflected in the address bar.
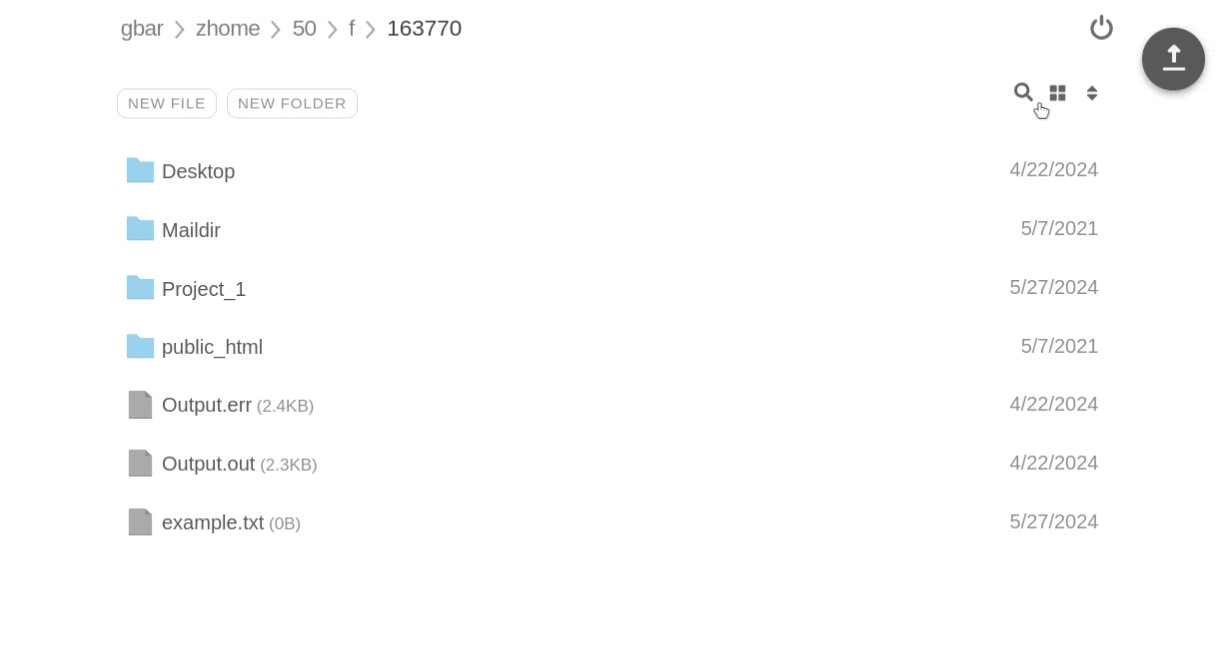
The file explorer provides a range of helpful functionalities to manage your files within this space:
Create a new file
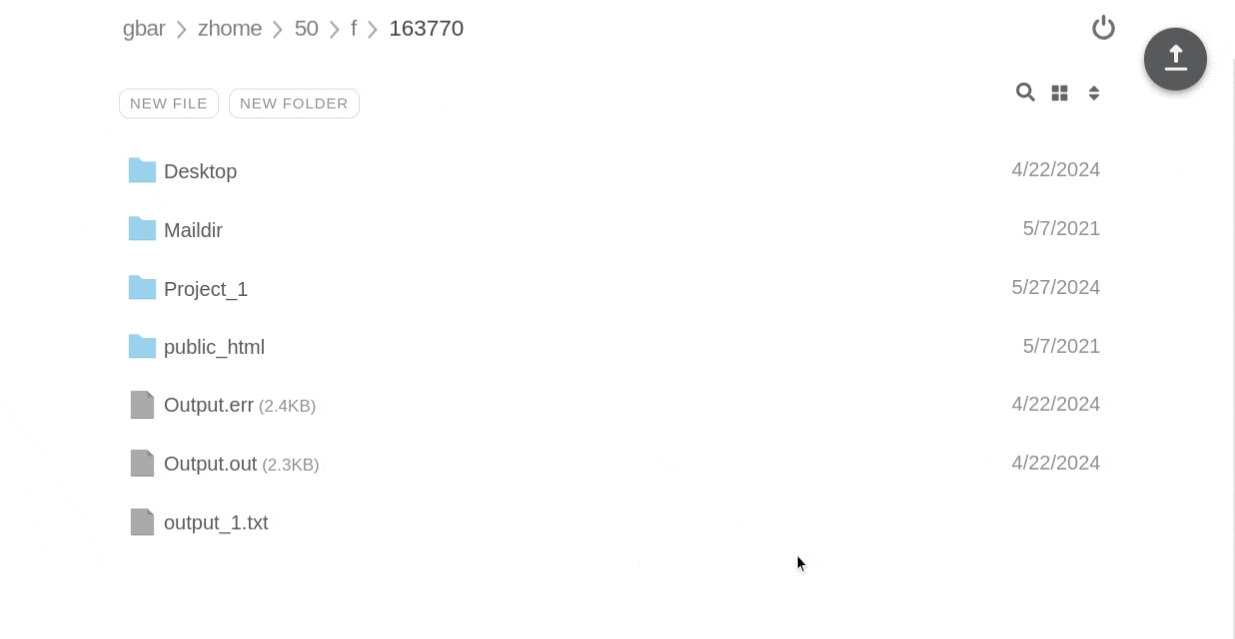
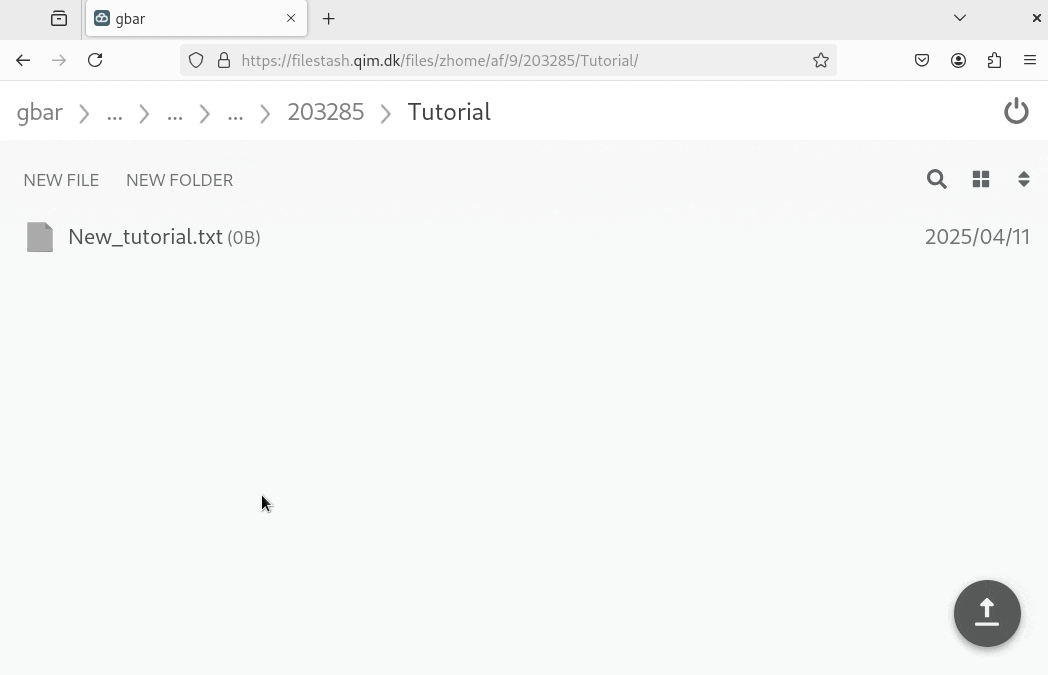
You can create a new file and specify its extension by clicking the New file button.
Create a new folder
You can create a new folder by clicking the New folder button.
Search bar
By pressing magnifying glass icon, it will appear a search bar that allows you to look for a specific file/folder.
Layout button
The layout button provides the ability to change the way your files are displayed. You can toggle between icon view and list view, allowing you to find the most convenient method for browsing your files.

Sort button
The sort button allows you to sort the files in the current page by Type (e.g., documents, images), Date (modified date), or Name.
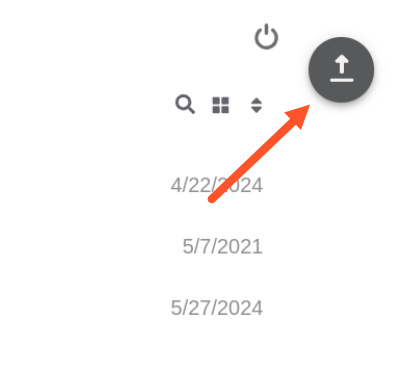
Upload file
Uploading files is a simple process. You can either drag and drop them directly into the file explorer, or click the upload button in the top right corner. This will open your local file system for selection. Please note that the maximum file size for upload is 2GB.
Select
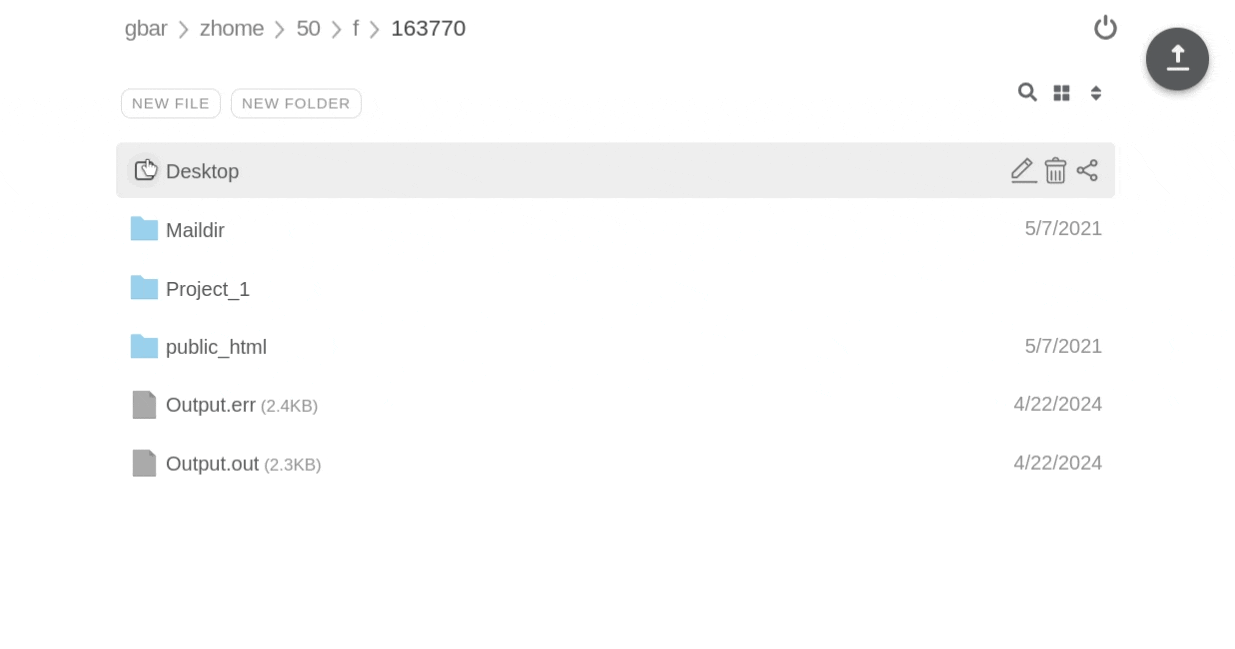
To select individual files or folders, hover your mouse over the desired item. A checkbox will appear, replacing the standard icon. Selecting the checkbox will mark the file or folder.
Download
After selecting an item, click the Download button. If you select multiple files, they will be downloaded as a compressed ZIP archive. Folders are always downloaded as ZIP files.

Deletion
Select a file and click the Remove button. The finish the process by typing the name of the file.
Renaming
Select a file and click Rename button. Then rename the file.
Sharing
Select a file and click Share button. This function enables you to generate a shareable link that grants access to the file without requiring DTU credentials. You can choose wheather the owner of the link can only view or also edit the file.

You can also easily delete the link and anyone with the link doesn't have the access anymore.
Copy path
Select a file and click Copy path button. This copies the absolute path to your clipboard.

Change file permissions
Select a file and click Change permissions button. This allows you to change file permissions. Also applies to folders. If you are not familiar with file permissions, check out this tutorial
Text file Editing
Double-clicking a text file opens it for in-line editing within a built-in text editor. Once you've made your changes, save the file by clicking the icon located in the bottom right corner.
Log out
To log out of the file explorer, locate the Start/Stop icon in the top right corner and click on it.